


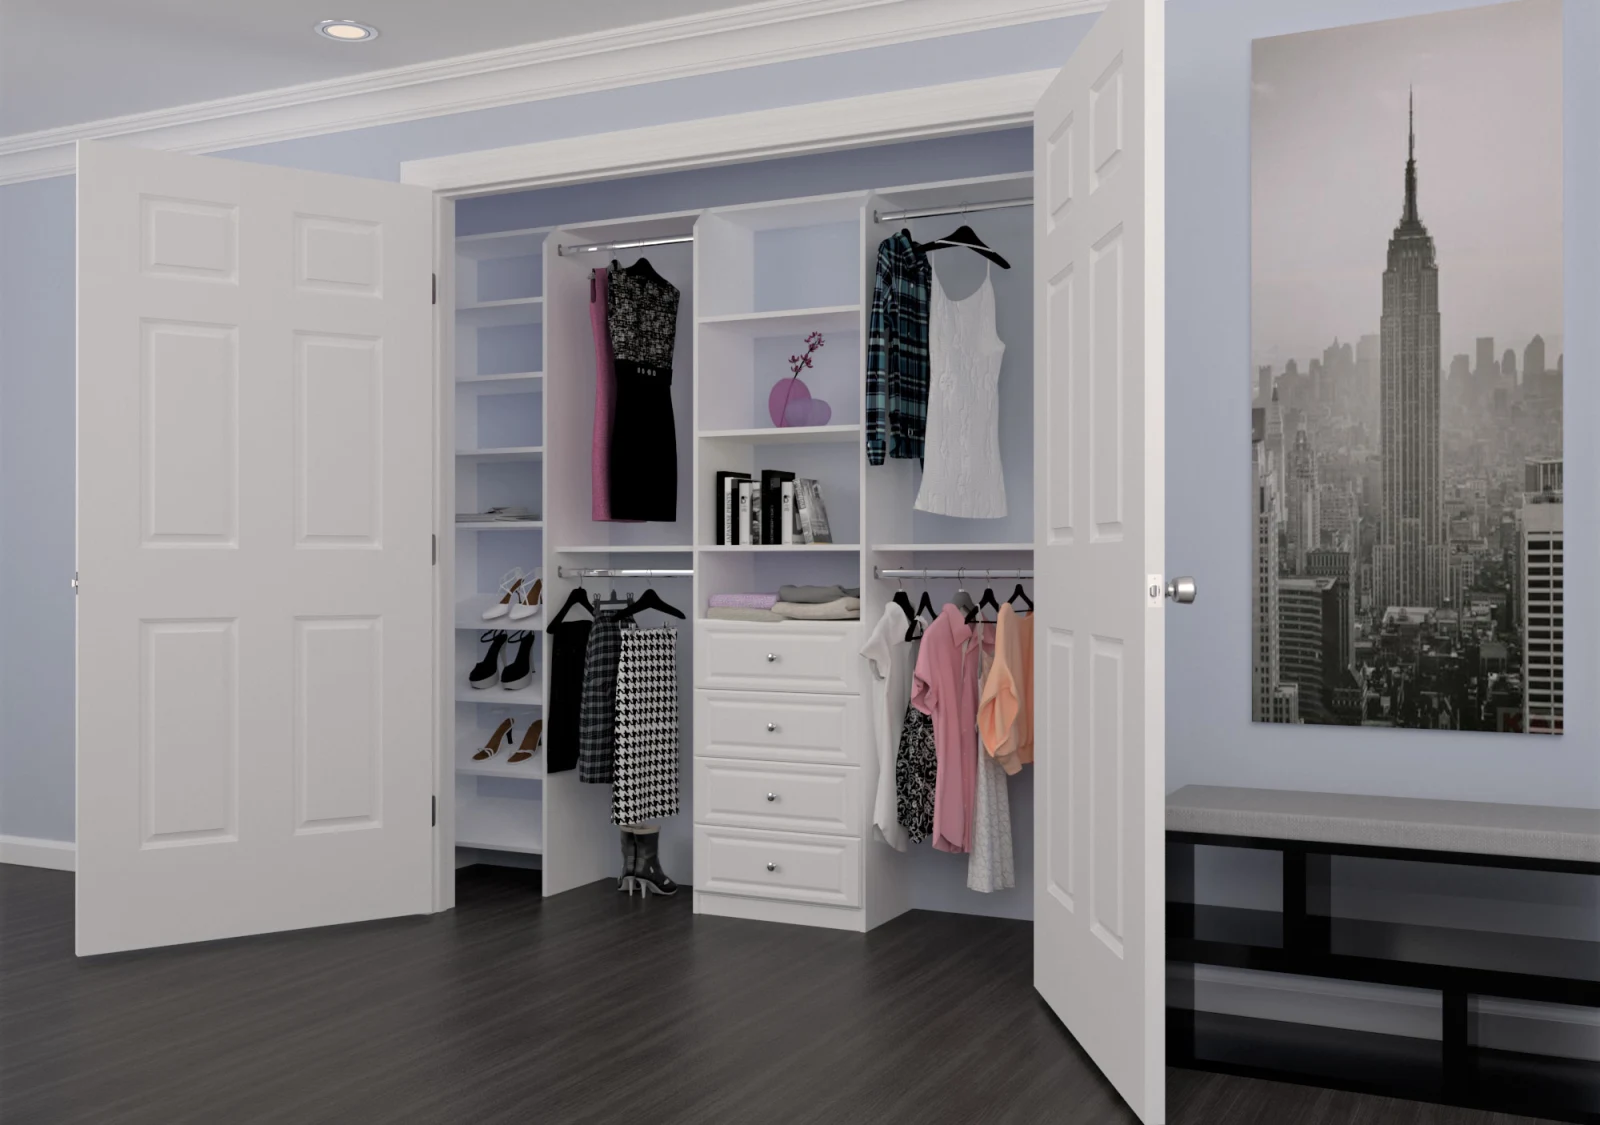
How to Measure a Reach-In Closet: DIY Guide + Checklist
Last updated: 7/7/2026
Every closet project we’ve ever seen go sideways started the same way: with a bad measurement. A shelf that’s half an inch too wide doesn’t fit. A drawer that ignores the door frame won’t open. And a system ordered from guesswork wastes money you could have spent on better storage.
The good news? Learning how to measure a reach-in closet takes about twenty minutes and a handful of tools you probably already own. After 35+ years of measuring closets across the GTA, we’ve boiled the process down to six steps anyone can follow.
Grab a tape measure and let’s get your numbers right the first time.
Quick Answer: The 6-Step Measuring Method
- Empty the closet and photograph it from a few angles
- Measure the width at three heights — use the smallest number
- Measure the height floor to ceiling at both ends and the middle
- Measure the depth from the back wall to the inside of the door frame
- Note obstructions — outlets, vents, baseboards, sloped ceilings
- Sketch it all on paper with every dimension labelled
Tools You’ll Need to Measure a Reach-In Closet
You don’t need a contractor’s kit. Here’s the short list:
- Tape measure — a 25-foot tape is easiest to handle solo
- Pencil and paper (or your phone’s notes app)
- Level — to catch uneven floors and bowed walls
- Step stool — for safe ceiling measurements
Nice to have: a laser measure for one-person accuracy, graph paper for a scaled sketch, and a stud finder if you’re planning a wall-mounted system.
Step 1: Clear the Closet and Take Photos
Start with an empty space. Clothes, bins, and that box of mystery cables all hide the surfaces you need to measure.
Once it’s clear, snap photos from a few angles. Pictures capture details you’ll forget — outlet locations, the old rod bracket holes, that odd bulkhead in the corner. If you ever bring in a designer, those photos speed everything up.
Step 2: Measure the Width (Three Times)
Here’s the secret pros know: walls are almost never straight. Measure the width of the closet at three heights:
- About 12 inches off the floor
- At roughly 4 feet (waist-to-chest height)
- About 6 inches below the ceiling
Record all three numbers, then use the smallest one for planning. A closet system built to the tightest point fits everywhere; one built to the widest point gets stuck halfway in.
Pro tip: if your three widths vary by more than half an inch, flag it. A custom builder can scribe panels to follow the wall — off-the-shelf kits can’t.
Step 3: Measure the Height
Measure floor to ceiling at the left side, the centre, and the right side of the closet. Older homes settle, and a one-inch slope across a six-foot closet is more common than you’d think.
While you’re up there, also record:
- Door header clearance — from the top of the door opening to the ceiling
- Existing shelf height — floor to the underside of any shelf you’re keeping
- Baseboard height — it eats into usable space at the bottom
Step 4: Measure the Depth
Measure from the back wall to the inside edge of the door frame. This number decides whether hangers will actually fit.
A few benchmarks to compare against:
| Depth | What It Means |
|---|---|
| Under 22” | Too shallow for standard hangers — plan shelves or hooks instead |
| 22”–24” | Workable minimum for hanging clothes |
| 24”–30” | The sweet spot for most reach-in closets |
| Over 30” | Deep corners — consider pull-out accessories so nothing gets lost |
Subtract 2–3 inches from your total depth for real-world clearance once clothes are hanging.
Step 5: Document Every Obstruction
This is the step DIYers skip — and the one that causes the most installation-day surprises. Walk the closet and note the position of:
- Electrical outlets and switches (measure from the nearest corner)
- Light fixtures and their clearance
- HVAC vents or returns
- Pipes, bulkheads, or sloped ceilings
- Door type and swing — bifold, sliding, or hinged, and which way it opens
Door swing matters more than people expect. Drawers and pull-out racks need room to extend without hitting the frame, which is one reason door and drawer choices get planned alongside measurements, not after.
Step 6: Sketch a Simple Diagram
Draw the closet as a rectangle viewed from the front, plus a bird’s-eye view. Label the width, height, and depth, and mark every obstruction from Step 5. It doesn’t need to be pretty — it needs to be complete.
When you write down final numbers, round down to the nearest 1/8 inch. A hair of extra clearance is invisible; a hair too tight is a return shipment.
Common Measuring Mistakes to Avoid
- Measuring once. Measure twice, minimum. Our installers still double-check every job.
- Ignoring baseboards and crown moulding. They can steal 1–2 inches of usable space.
- Forgetting door clearance. Extended drawers plus a closed door frame equals frustration.
- Assuming square corners. Check with your level — settling and old framing rarely cooperate.
- Missing sloped ceilings. Angled ceilings limit high shelving, so measure the low point too.
Turning Measurements Into a Layout
With accurate numbers in hand, you can rough out a plan. A few guidelines we use when designing custom bedroom closets:
- Long hanging (dresses, coats): allow 60–72 inches of clear height
- Double hanging (shirts, pants folded over): rods at roughly 40 and 80 inches
- Folded clothes on shelves: 12–14 inches between shelves
- Shoes: 6–8 inches of shelf spacing for flats, more for boots
A reliable rule of thumb: dedicate about 70% of the closet to hanging, 20% to shelving, and 10% to shoes and accessories — then adjust for how you actually dress. If you want a sense of what finished layouts look like, browse our gallery for real reach-in projects.
For a deeper dive on arranging everything once the system is in, see our guide to bedroom closet organization.
Frequently Asked Questions
What is the standard depth of a reach-in closet?
Most reach-in closets are 24 to 30 inches deep. You need at least 22 inches of clear depth for clothes on standard hangers; anything shallower works better with shelves, hooks, or slim-profile hanging.
How do I measure a closet with sliding doors?
Measure the full interior width wall-to-wall, but also record the width of each door opening. With sliders, only part of the closet is accessible at once, so drawers and pull-outs should sit within the openings — not behind the overlap.
Should I measure in inches or centimetres?
Either works — just be consistent and say which you used. Most closet systems in North America are specified in inches, so if you measure metric, note it clearly on your diagram to avoid conversion errors.
What if my walls aren’t straight?
It’s normal, especially in older homes. Record the smallest width and flag the variation. Custom-built systems can be scribed and fitted to wavy walls, which is a key advantage over flat-pack kits when the variance exceeds half an inch.
Do I really need to measure if I’m getting a custom closet?
You don’t — a professional designer will take precise site measurements before anything is built. But rough DIY measurements are still worth taking early: they help you compare options, set a realistic budget, and have a smarter first conversation.
Ready to Skip the Tape Measure?
If you’d rather have a pro handle it, we’re happy to. Markae Closets has been measuring, building, and installing custom closets for over 35 years — every system manufactured in-house and fitted to your exact walls, straight or not. Book a free consultation and we’ll bring the tape measure.
Related Articles
Small Closet Storage Solutions: Double Your Space
Small closet storage solutions that actually work: double hanging, vertical storage, and smart layouts to fit twice the wardrobe in the same footprint.
Read more →
How to Maximize Space in a Small Walk-in Closet
Practical small walk-in closet tips from custom closet designers: double hanging, corner planning, and layout choices that can more than double your storage.
Read more →
Home Office Built-Ins That Actually Work: A Design Guide
Design home office built-ins that work as hard as you do — smart storage, ergonomic layouts, hidden cable management, and a video-call-ready backdrop.
Read more →